How to Use the Titan 440 for Perfect Painting Results

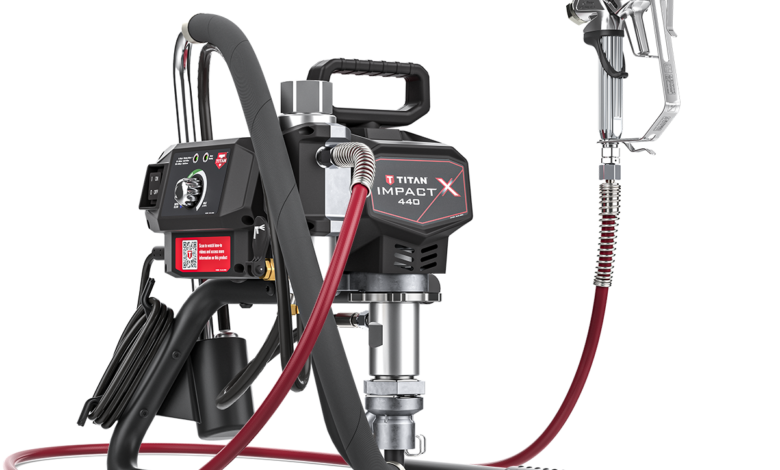
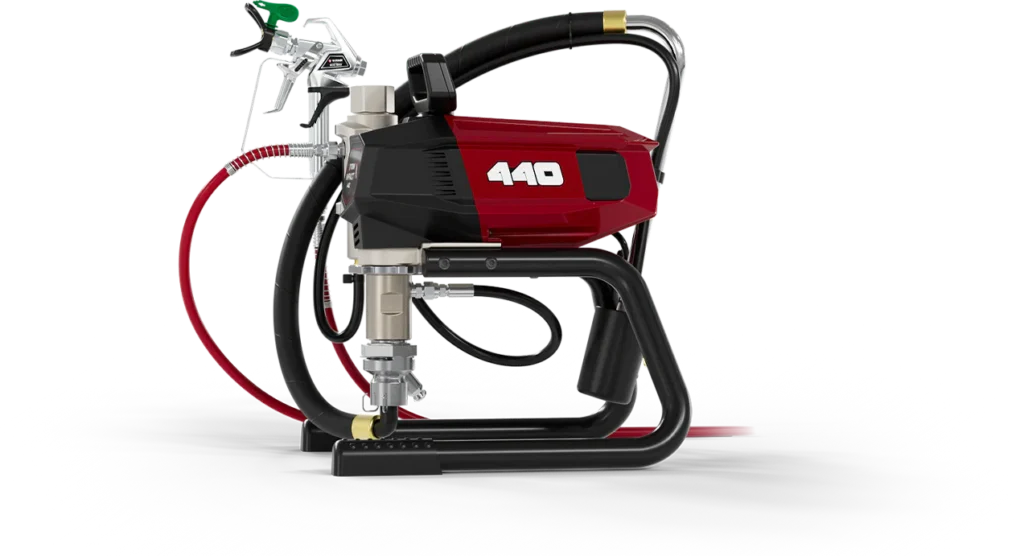
The Titan 440 is a very powerful, reliable tool that can be used by professionals and any self-sufficient DIY enthusiast to come out with really smooth results in painting. It can be utilized for many things painting walls and ceilings, application coatings to cabinets and furniture. To get the best results from the Titan 440, one has to know its setup, use, and maintenance. Here is a step-by-step how to use the Titan 440 for perfect painting results.
1. Setup the Titan 440
You would set up anything according to your preference, but in this case, the best performance and the perfect result all depend on how well you set up. Therefore, before you begin to paint, make sure that you have all your equipment and your safety gear. This includes the paint, a suitable spray tip, hoses, filters, and your safety gear such as gloves and goggles.
Step-by-Step Setup:
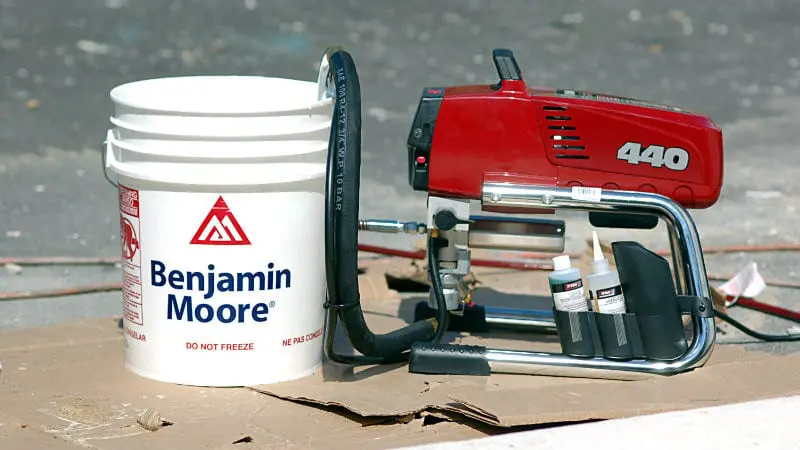
Position the Unit Place the Titan 440 on a level, dry surface close to an electrical outlet if using a corded version. The work area should be well-ventilated and free from obstacles.
- Connect the Hose Attach the high-pressure hose to the paint outlet on the unit. Ensure connections are tight for leak-free operation.
- Select Appropriate Spray Tip: Each tip has an application it is best suited for, which will be dependent on the material involved and the size of the area to be coated. For example, the larger tips are ideal for larger areas, while smaller tips are used when detail is very important. Please see the chart from Titan regarding size, etc.
- Fill the Bucket: Flooding removes all the air from the system and ensures easy paint flow. Dip the suction hose in clean water (or paint when you are ready to spray). Then, set it to the “prime” position and let the sprayer pump until air escapes from the priming system and liquid flows through the system.
2. Pre-Spray Paint and Surface
Proper preparation of the Titan 440 paint sprayer and the surface one is working on are the essential steps to achieving perfect painting results.
Mixing the Paint
- Strain the Paint: Strain your paint so that lumps do not clog the sprayer. A fine mesh filter or paint strainer works best for this.
- Check Paint Consistency: Some paints need thinning for them to spray well with an airless sprayer. See the paint manufacturer’s instructions on thinning, if needed.
- Preparation of the Surface
- Clean and dry: The surface must be clean and dry before painting is applied in an even way. Scrape and/or stiff brush off any dust, dirt, grease, and old paint flakes before painting.
- Tape off edges: Masking tape marks the edges and areas you do not want to paint with. This will allow you to have clean lines and a professional finish.
- Prime the Surface: For some jobs, such as painting bare wood or metal, a primer may be needed. The Titan 440 can spray on primers with good results, too; use a primer-compatible spray tip for those jobs.
3. Painting with the Titan 440

Once your paint, sprayer, and surface are all ready, it’s time to get painting. Here are a few tips on using the Titan 440 effectively:
Basic Spraying Technique
- Position the nozzle 10-12 inches over the surface with an angle of right to avoid splotches.
- Apply steady, overlapping motions in either a horizontal or vertical stroke with the sprayer. Overlap by at least 50% for each pass to obtain uniform coverage without streaks.
- Adjust Pressure: The Titan 440 lets you regulate pressure depending on the material and surface. Lower pressure is usually applied in thin materials while high pressure is okay for thick coats. You can make necessary adjustments to eliminate overspray or under-coating.
- Avoiding Common Mistakes
- Preventing Drips: Avoid holding the sprayer in one spot for too long. Continuous movement prevents drips and streaks.
- Minimizing Overspray: While airless sprayers generate some overspray, it can be adjusted further by fine-tuning the pressure of the liquid and holding the spray gun closer to the surface.
4. Cleaning the Titan 440 After Every Use

Cleaning after every use contributes significantly to the longevity of the Titan 440, as well as its readiness for the next project. Here is how to clean it:
Step-by-Step Cleaning
- Flush the System: Empty any remaining paint from the system. Insert the suction tube into a bucket of water or solvent if using oil-based paint, prime the unit. This will flush the paint from the pump and hose.
- Clean the Spray Gun: Take away the spray gun and disassemble it. Remove the tip and guard of the gun. Rinse all parts well and check for blockages or dried paint.
Conclusion
Using the Titan 440 airless sprayer can make the painting work easy and fast as if you were a professional. Proper setup of the sprayer, paint, and surface, and finishing with some proper spraying techniques will give almost every surface an even distribution of the paint. Clean and maintain your Titan 440 after usage for best results, and extend its useful life. A little practice and these guidelines will prepare you very well for handling a wide variety of painting projects with precision and ease.


